How to Create a New Next.js App
Next.js is based on the React framework but has some extra features and functionalities. It is built using Javascript, a trendy programming language.
Whether you are Mac, Windows or Linux, you can use the Next.js framework.
To create a new Next.js app, your system must run the following application:
- Node.js latest version
To install the latest version of Node.js, go to this link: Node.js Prebuilt Installer. After installing, come back here.
Creating a Next.js App
To create a new Next.js app, open the command prompt or terminal and move to the location where you want to create it.
For example, I move to the location on my Windows using the command below.
cd projectThen, run the command below to create the latest version of the Next.js app.
npx create-next-app@latestWhen you run the above command, it asks for the project name, so specify the name of the project you want. In my case, I have specified ‘blog’.
Then, it prompts for some settings, as shown below.

For other settings, it asks for the following things:
√ Would you like to use TypeScript? … No / Yes
√ Would you like to use ESLint? … No / Yes
√ Would you like to use Tailwind CSS? … No / Yes
√ Would you like to use src/ directory? … No / Yes
√ Would you like to use App Router? (recommended) … No / Yes
√ Would you like to customize the default import alias (@/*)? … No / Yes
I have chosen the setting based on my preferences. I want to use TypeScript, Eslint, Tailwind CSS, and App Router, but I don’t want to use the ‘src/’ directory and import alias.
- TypeScript is a strictly typed superset of JavaScript that introduced optional static typing to the language. If you choose to use it, this will set up your Next.js project to TypeScript, offering significantly improved type checking and a better development-time experience because of features such as auto-completion and automatically inferred types.
- ESLint is a tool for identifying and reporting patterns in JavaScript code. If you select Yes, it will be pulled into your project to provide code quality and consistency by enforcing coding standards and capturing helpful errors.
- Tailwind CSS is a utility-first CSS framework for rapidly building custom user interfaces. Choosing Yes will include Tailwind CSS in your project, and you can use its utility classes to style your components without needing to write custom CSS from the ground up.
- It’s a common practice on many projects to organize the source code using the src/ directory. If you choose Yes, the source files of your project will be saved in the src/ directory, and you can place source code apart from configuration or build output.
- The App Router is Next.js’s new and recommended routing system. It allows you to define your application’s navigation structure. Choosing Yes (Y) will enable the modern routing system, which allows for more flexibility and power when working with routes and layouts in your Next.js app.
- By customizing the configurations of the import alias, we can create shorthand paths for importing modules that simplify and clean up your imports. If you choose yes, it asks for a more meaningful and readable alias (e.g., @/components).
After choosing the configuration or setting according to yourself, if everything goes well, a success message will appear on the command or terminal indicating that it successfully created the Next.js new app named blog, as shown below.

After that, let’s run the project by moving to the app directory.
cd blogFrom the app directory, run the command to start the app server.
npm run devThe command npm run dev starts the application or server in a development environment.

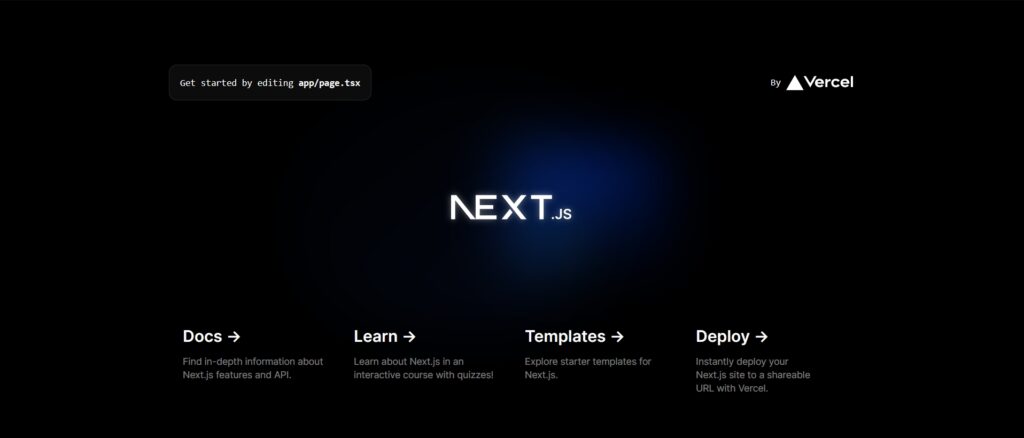
Navigate to http://localhost:3000 in your browser to see the app.

If you see the page in the above picture, you successfully created the Next.js app.
I hope that you understand how to create the Next Js app. Remember a few points:
- Make sure to install the latest version of Node.js before creating the Next.js app
- To create a new Next.js app, run the command ‘npx create-next-app@latest’.
- To start the Next.js development server, run the command ‘npm run dev’.
- To view the application in the browser, visit the link http://localhost:3000